Exploring FLASK with the help of SQLALCHEMY
- Introduction
- Technologies Used
- Backend: Flask and SQLite
- Frontend: HTML and Bootstrap
- Conclusion
- Appendix
Introduction
The highlight of our exploration will be an interactive project named “Flask Social Media”. This isn’t just any project, but a fully-featured social media application, similar to the platforms you likely use every day. I chose this project because it allows us to explore the core features of Flask and SQLite while creating something tangible and functional.
Flask, for those who may not be familiar, is a micro web framework written in Python. It is known for its simplicity and flexibility, making it a popular choice for web developers worldwide. Alongside Flask, we’ll be utilizing FLASK_SQLalchemy, a FLASK extension that provides a lightweight disk-based database. This allows us to interact with a relational database in a way that is seamless and efficient, without the need for a separate server process.
The Flask Social Media project is an interactive and fully-featured social media application built using Flask and SQLite. It aims to provide functionalities similar to popular social media platforms. This project focuses on implementing the following core features:
- User and post management
- Following other users
- Messaging
- Notifications
- Search function
In addition to these features, we’ll have the opportunity to style our application using CSS, adding an aesthetic touch to the robust functionality.
Technologies Used
The project utilizes the following technologies:
- Flask: A micro web framework written in Python, known for its simplicity and flexibility, making it a popular choice for web developers worldwide.
- SQLAlchemy: A powerful SQL toolkit and Object-Relational Mapping (ORM) library that provides a high-level and expressive approach to interacting with databases, including SQLite. It simplifies database operations and enables efficient database management.
So, whether you’re a seasoned developer wanting to explore Flask and SQLite or a novice just dipping your toes into the world of web development, this blog will guide you through each step. By the end of our journey, you will have gained practical, hands-on experience with Flask and SQLite and have a fully-functional social media application to show for it.
Backend: Flask and SQLite
User Authentication
To begin with, we’re focusing on user authentication - a fundamental feature for any social media application. This involves handling user login, logout, registration, account updates, and account deletion. We’ll be using Flask’s routing and form capabilities along with the SQLite database to accomplish these tasks.
Here’s a block of code responsible for the login functionality and how it will turn out to be:

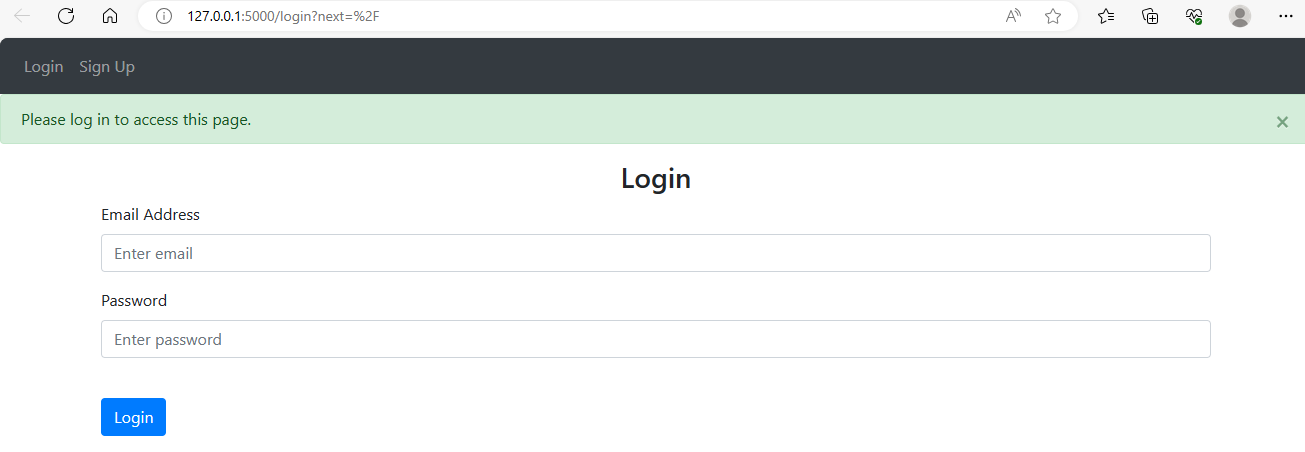
In simple terms, what we’re doing here is defining a route at /login that will handle both GET and POST requests.
In case of a GET request, the server will simply render and return the “login.html” template. For POST requests, which occur when the user submits their login form, we extract the entered email and password. We then use these details to find the user in our SQLite database. If a user with the given email exists and the provided password matches the stored password (after hashing), we log the user in and redirect them to the homepage. If not, appropriate error messages are flashed to inform the user about the incorrect credentials.
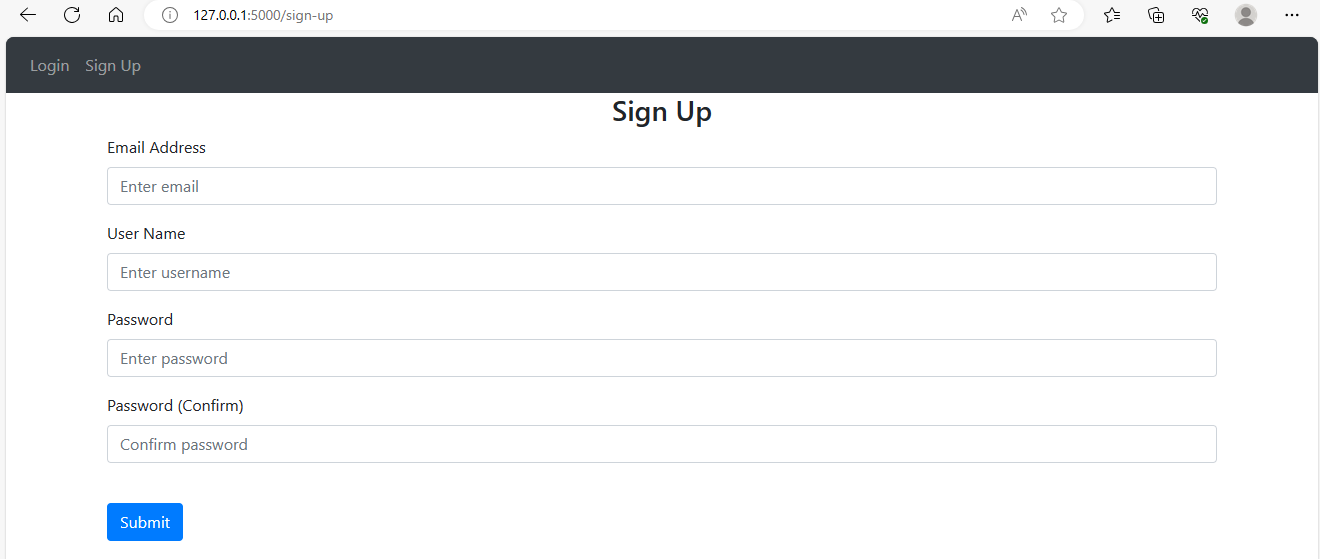
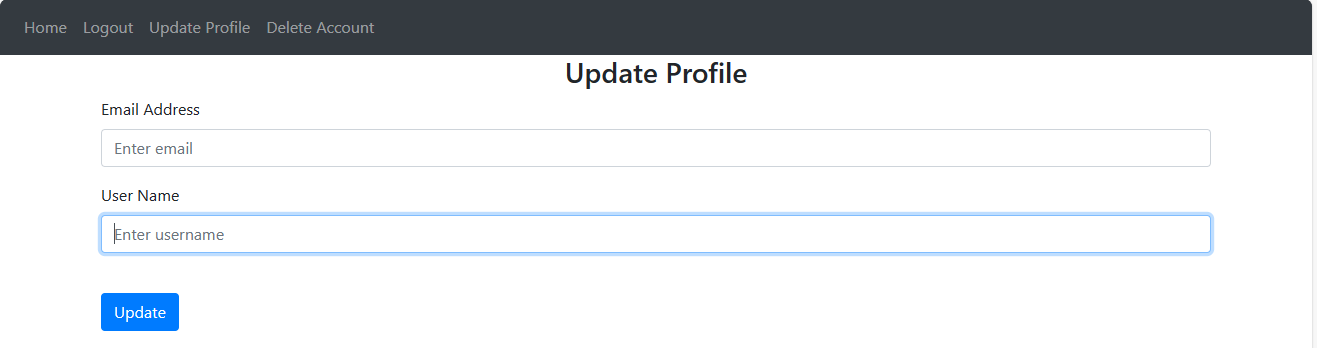
This same pattern is extended for logout, sign-up, update profile, and delete account operations, each with its respective checks and user prompts. As we progress through these operations, the code may seem complex, but don’t worry! As you work more with Flask and SQLite, this code will start to feel more intuitive.
Here’s how these would look:

Posts Management
Now that we have user management in place, the next step is to handle posts - the heart of any social media platform. Our focus will be on creating, editing, and deleting posts.
Let’s explore how to create a new post and the output:
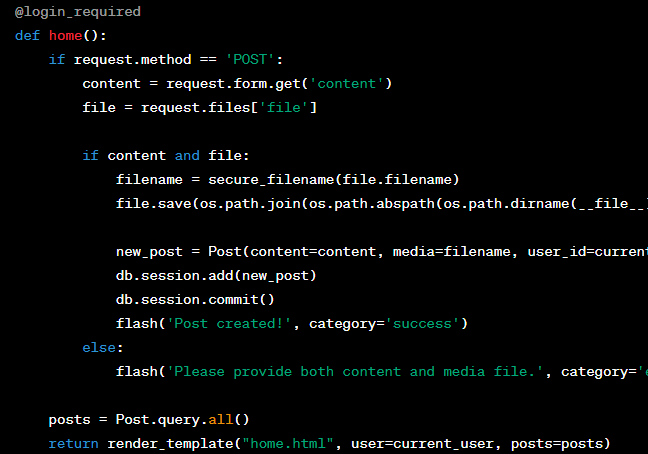
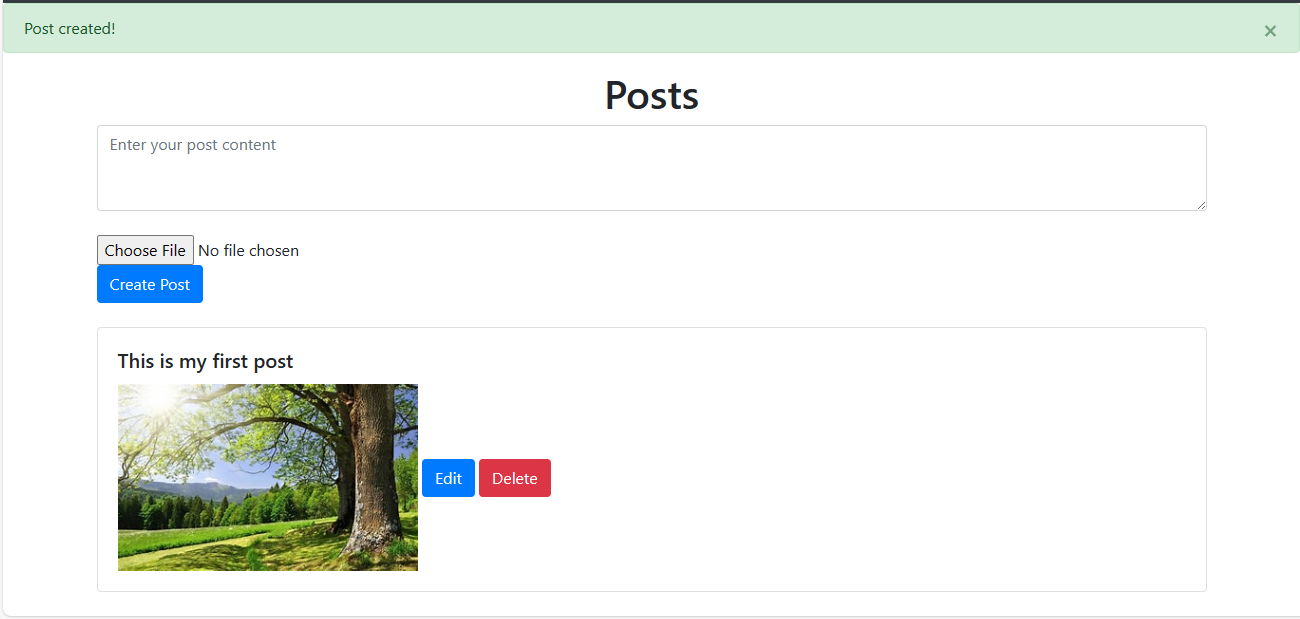
In this code, we define a route at / to handle both GET and POST requests. For a POST request, which is triggered when a user submits a new post, we retrieve the entered content and uploaded file. If both are provided, we securely save the file to our server and create a new Post object, linking it with the current user. After adding this new post to our database and committing the changes, we flash a success message to the user.
This function also handles GET requests, which occur when a user visits the home page. In this case, we retrieve all posts from our database and render the “home.html” template, passing in the current user and posts to be displayed.
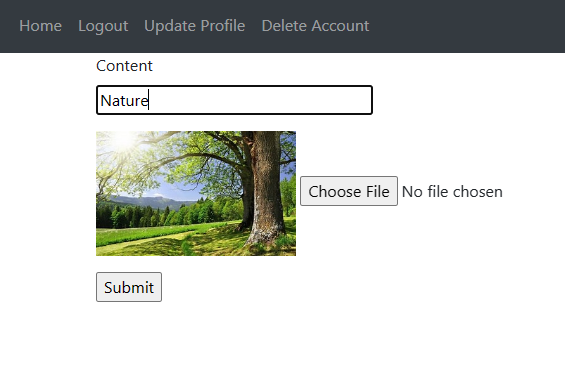
For the edit and delete functionalities, we create separate routes, each accepting an id parameter. The id is used to fetch the post to be edited or deleted from our SQLite database.
In the edit function, we provide the user with a form pre-filled with the current content and file of the post. Once the user updates and submits this form, we validate the input, update the post in our database, and flash a success message. For the delete function, we check if the current user is the author of the post before deleting it. This ensures that only the post’s author can delete the post, adding a layer of security to our application.
Remember, though the lines of code may appear complex, they form the core functionality of our social media app, providing the features users expect from a modern platform. As we move forward, you’ll gain a deeper understanding of how Flask and SQLite work together to create a dynamic, interactive web application
Frontend: HTML and Bootstrap
Moving on to the user interface of our social media application, we use HTML, a markup language for creating web pages, enhanced with the power of Bootstrap, a popular CSS framework for building responsive and mobile-first websites.
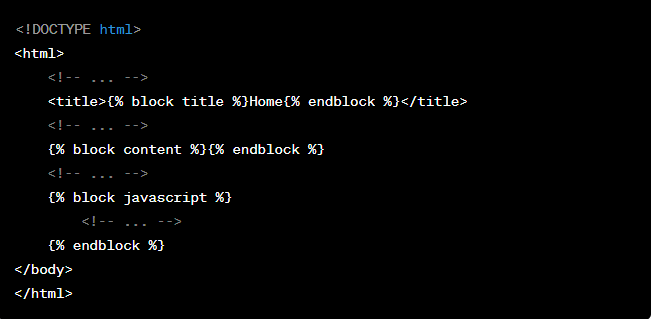
Firstly, we have a root.html file. This is a base template which provides a consistent structure for our application - including the navigation bar, alert messages, a content container, and scripts for interactivity. This file also includes several {% block %} statements, which are part of the Jinja2 templating language. These allow us to override specific parts of the template in other HTML files, providing flexibility to customize our pages while maintaining a consistent structure.
Here’s how HTML templates are used to create the home page of a website and the result:
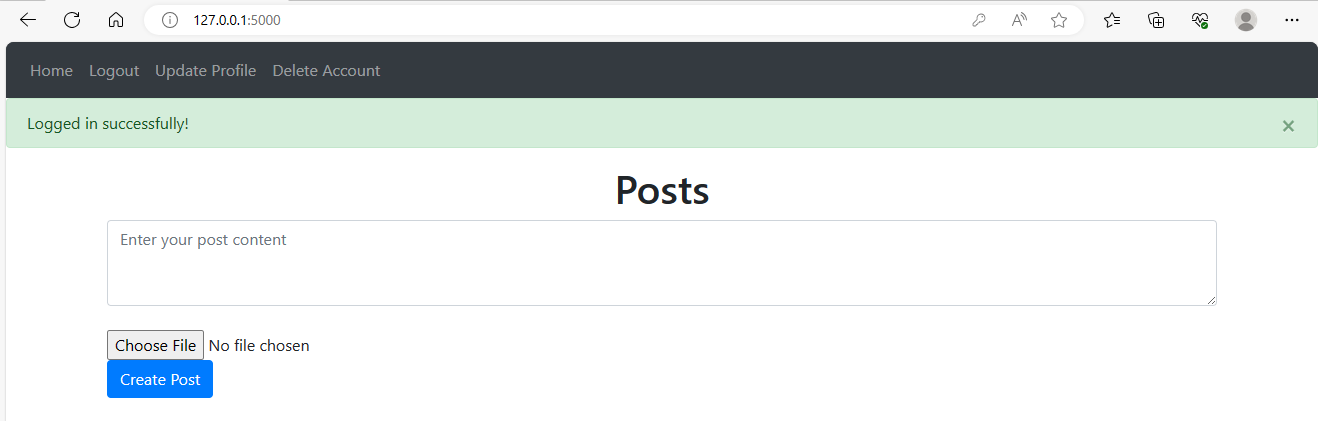
The navigation bar on the top uses Bootstrap’s navbar class. It is responsive and will automatically collapse on smaller screens. Inside this bar, we have different links, some of which are only visible if the user is authenticated. This is controlled using the {% if user.is_authenticated %} statement.
Flashed messages (like success messages after successful account creation or login) are displayed using Bootstrap’s alert class. The color of the alert depends on the category of the message - either success (green) or error (red).
We then have separate HTML files for signup and login pages. These files extend from our root.html and override the title and content blocks to customize the page title and main content.
For example, in the signup page:
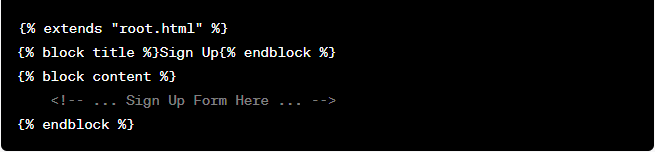
Here, we use Bootstrap’s form and input classes to create a clean, modern form. The form-group class is used to wrap labels and input fields, providing appropriate spacing. The btn btn-primary classes are used to style the submit button.
Overall, the usage of Bootstrap helps us ensure that our application looks good on all screen sizes with minimal effort, while the power of Jinja2 templating lets us write clean, maintainable code by avoiding duplication. By exploring and mastering these technologies, you can create appealing and user-friendly web applications.
Conclusion
In this blog post, we’ve traversed the journey of creating a social media application using Python’s Flask framework, SQLAlchemy, HTML and Bootstrap. We first dove into the backend side of things, exploring how routes can handle various functionalities such as login, logout, sign up, profile updating, and account deletion. We then delved into more complex operations like creating, editing, and deleting posts. The key takeaway here is how Flask, along with its plug-ins, allows us to handle all these different aspects in a straightforward and organized manner.
Subsequently, we stepped into the frontend realm where HTML, empowered by Bootstrap, breathed life into our application, making it visually appealing and responsive. We saw how Jinja2 templates help in creating reusable HTML structures while allowing for specific customizations.
Through this journey, we hope you’ve gained a comprehensive understanding of the components and processes involved in building a web application. While the journey of learning web development may seem daunting, remember that every line of code you write is a step forward. Continue practicing, building, and exploring. Happy coding!
Appendix
SQLAlchemy is an ORM (Object-Relational Mapping) library that provides an intuitive and Pythonic way to interact with databases. It allows developers to define database models as Python classes and perform database operations using Python code.
One of the key benefits of SQLAlchemy is its ability to abstract away the underlying database system, such as SQLite, and provide a consistent API for different database engines. This means that the same code can be used with different databases without major modifications.
By leveraging SQLAlchemy in our Flask Social Media project, we can focus more on the application logic and less on the intricacies of database management. SQLAlchemy handles tasks such as database connections, query generation, and object mapping, making database operations more efficient and maintainable.
To secure user passwords, we store them as hashes on the server rather than in plain text. Additionally, we can use techniques like salting, where a random string is added to the password before hashing, making it more difficult to crack the hashes in case they are compromised.
Regarding the transfer of passwords from the browser to the server, if HTTPS is not used, the passwords can be sent in plain text, which poses a security risk. To add HTTPS to our application, we need to configure SSL/TLS certificates and enable secure communication between the client and the server. This ensures that the data transmitted, including passwords, is encrypted and protected from interception.